Showing posts with label recipes. Show all posts

Saturday, September 10, 2011

Gluten Free Pancakes back on the menu


This is a repeat recipe because I am making them this morning and pancakes just seem like a pre-fall sort of delicious breakfast.  Gluten free pancakes! After many, many attempts, the best gluten-soy-dairy free pancakes have emerged from our Spearfish kitchen.  Using coconut flour really makes a difference, as the little cakes are fluffier.  There is no hint of coconut flavor.

Here's the skinny:

Start with the Gluten free flour mix here pour a steaming, hot cup of rich coffee and do this:

1. Sift gluten free flour mix before measuring 1 cup of the mix and ½ cup coconut flour
2. Then re-sift with 1 TSP salt, 3 TBL sugar and 1-1/4 TSP baking powder
3. In a separate bowl, slightly beat 2 room temp eggs with 3 TBL melted coconut oil (make sure it's cool), 1-3/4 cup rice milk (not too cold - better room temp)
4. Then mix the liquid into the dry ingredients with a whisk.
5. Use coconut oil to grease a frying pan or griddle between batches and make sure it's hot (a few drops of water dance on the surface = ready). Use an 1/8 cup measuring cup to make small, 3-inch cakes. Watch the heat - I usually flux between medium high (to start) to medium on my electric stove.
6. Sprinkle with cinnamon sugar for oh so yummy pancakes.

I typically make two batches so I can freeze some for breakfasts during the week. They freeze great -- just lay them on parchment paper individually in the freezer.

Enjoy!

Saturday, August 6, 2011

Every year, I like to try something new in the garden.  This year, its cabbage.  I LOVE cole slaw so what better way to get the very freshest cabbage but to grow it!  I planted four of these from seedlings and they are such a pretty addition to the garden.  The new visitor I don't like are those white moths that lay about a zillion eggs on cabbage.  Yuck!  Not doing pesticide, I just hosed off all the gross green and brown eggs which has worked pretty good so far.  I almost have to wash them off daily.  Being an organic gardener, it takes more time to ward off the bugs and disease.  However, I have no issues eating my tomatoes right off the plant without washing them either. 

Here's the best IMHO (and easiest) way to make great slaw:

1. Core the cabbage and cut in very thing slices. Put in a big bowl and add a lot of cracked black pepper and about 1/4 tsp of salt.  Mix all together.
2. Mix together (for a full head of cabbage ... which makes A LOT of slaw BTW): 1/2 cup canola oil, 1/2 cup blue cheese dressing (We use Toby's which is all natural and soooo good), 1/2 tsp cayenne pepper about about a 1/4 cup black mustard seeds.
3. Pour the mixture on the cabbage and really mix it together.
4. Cover and put in the fridge for about 3-4 hours.


Yum!


Sunday, August 8, 2010

Beet Greens!

Fresh Spearfish beet greens from Gage's Gardens

Popped these beet greens on top of pasta.  Delicious!

Don't toss your beet greens!  This recipe from www.simplyrecipes.com and is so delicious (I changed it just a bit).  My beet greens came from a huge pile of greens at Gage's Gardens and most of the stems were small and totally usable in this recipe.  Make sure to ask for them.  Any woody stems and those leaves that needed to go, went into my compost pile out behind the shed in the backyard.

Beet Greens

1 lb beet greens (I used one very packed plastic grocery bag full) - you can use the stems if small
1 tbl bacon fat and one piece of crispy bacon
1/4 cup chopped onion
2 large minced garlic clove
3/4 cup water
1 tbl sugar
1/2 tsp crushed red pepper flakes
1/6 cup cider vinegar

1.  Wash greens in sink filled with cold water, drain and do it again.  Cut into bit sized pieces.
2.  In a large skillet, cook bacon until lightly brown with the bacon fat.  I know, this sounds weird but makes it extra good.  Add onion, cook over medium heat about 5-7 minutes, stirring a bit until onions start to brown.  Stir in garlic and add water to hot pan to loosen any brown particles from the bottom of the pan (really scrape).  Stir in sugar and red pepper. Bring mixture to boil.
3.  Add the beet greens, gently toss in the onion mixture so the greens are well coated.  Reduce to low, cover and simmer about 10 minutes until the greens are tender.  Stir in vinegar.

Add this mixture to pasta and wow, a full meal!

Sunday, July 25, 2010

Gluten Free Pizza

We just had gluten free pizza at the new BeauJo's in Rapid City and I was amazed at how CRISPY the crust was! It was served on a circle of parchment paper sort of wrapped around the crust. I am going to try it!

I've been making gluten-free pizza for several years. We used to buy pre-made crusts at our local Good Earth but it just got so expensive so we only purchase the pre-made versions in a pinch. I've played with many combinations but always start with this mix to sort of mimic regular wheat flour.

Here's the rest of the recipe for two pizza crusts. I use pizza stones.

1. Preheat to 425. First, grease each pizza stone. I use hard coconut oil using a coffee filter which I like because there are no pieces of paper towel left on my stone.
2. Sift together - the flour mix above, 1/2 cup chickpea or fava bean flour, 1/2 cup quinoa or teff flour, 2 tsp xanthan gum, 1 tsp salt, 1 tsp baking powder. You can add other dried spices too -- I've used red pepper, basil and oregano with success. Just make sure they are gluten free.
3. Then measure out 1/2 cup of olive oil and mix into dry ingredients, first with a fork and then with your fingers to get everything mixed together - do it quickly, because the olive oil will start to glob together in big globs if you linger (from the heat of your hands). Your goal is 'little pebbles' of olive oil in the flour.
4. Measure out about 1 cup of water and mix into flour and stir. It will be slightly sticky. If it's too dry, just add a bit more water. Form two balls.
5. Put each ball on a pizza stone and use a rolling pin or your fingers to work the dough to the edges. It will be sticky so use some flour mix on your rolling pin or fingers.
6. Prick with fork and bake for 10 minutes. Then add toppings and bake another 25 or so minutes. Keep an eye on it.

Cut in pieces, this freezes very well.

My next experiment will be trying out parchment paper in search of a crispy crust!

Monday, May 31, 2010

Okay, the BEST Gluten Free Pancakes!

Gluten free pancakes! After many, many attempts, the best gluten-soy-dairy free pancakes have emerged from our Spearfish kitchen.

Here's the skinny:

Start with the Gluten free flour mix here, pour a steaming, hot cup of rich coffee and do this:

1. Sift gluten free flour mix before measuring 1-1/2 cups of the mix
2. Then re-sift with 1 TSP salt, 3 TBL fine sugar and 1-1/4 TSP baking powder
3. In a separate bowl, slightly beat 2 room temp eggs with 3 TBL melted coconut oil (make sure it's cool), 1-1/4 cup rice milk (not too cold - better room temp)
4. Then mix the liquid into the dry ingredients with a whisk.
5. Use coconut oil to grease a frying pan or griddle between batches and make sure it's hot (a few drops of water dance on the surface = ready). Use an 1/8 cup measuring cup to make small, 3-inch cakes. Watch the heat - I usually flux between medium high (to start) to medium on my electric stove.
6. Sprinkle with cinnamon sugar for oh so yummy pancakes.

I typically make two batches so I can freeze some for breakfasts during the week. They freeze great -- just lay them on parchment paper individually in the freezer.

Enjoy!

Sunday, December 21, 2008

Eating Locally in Winter

This is a great excerpt from a book I am reading, Outstanding in the field; a farm to table cookbook by Jim Denevan:

"The goal is to build a tasty, satisfying meal primarily with what is local and seasonal, supplementing with ingredients from farther afield. The reality is that it's tricky to eat strictly locally and seasonally all the time, but that doesn't mean we shouldn't try to find a good deal of our foods from close to home when possible. There are an increasing number of ways to do this: Purchase local chickens at a farmers' market instead of industrial ones shipped cross-country and enjoy domestic berries from late spring to early fall instead of buying imported berries in January."

It's extra challenging here in the Black Hills but I am convinced it can be done.

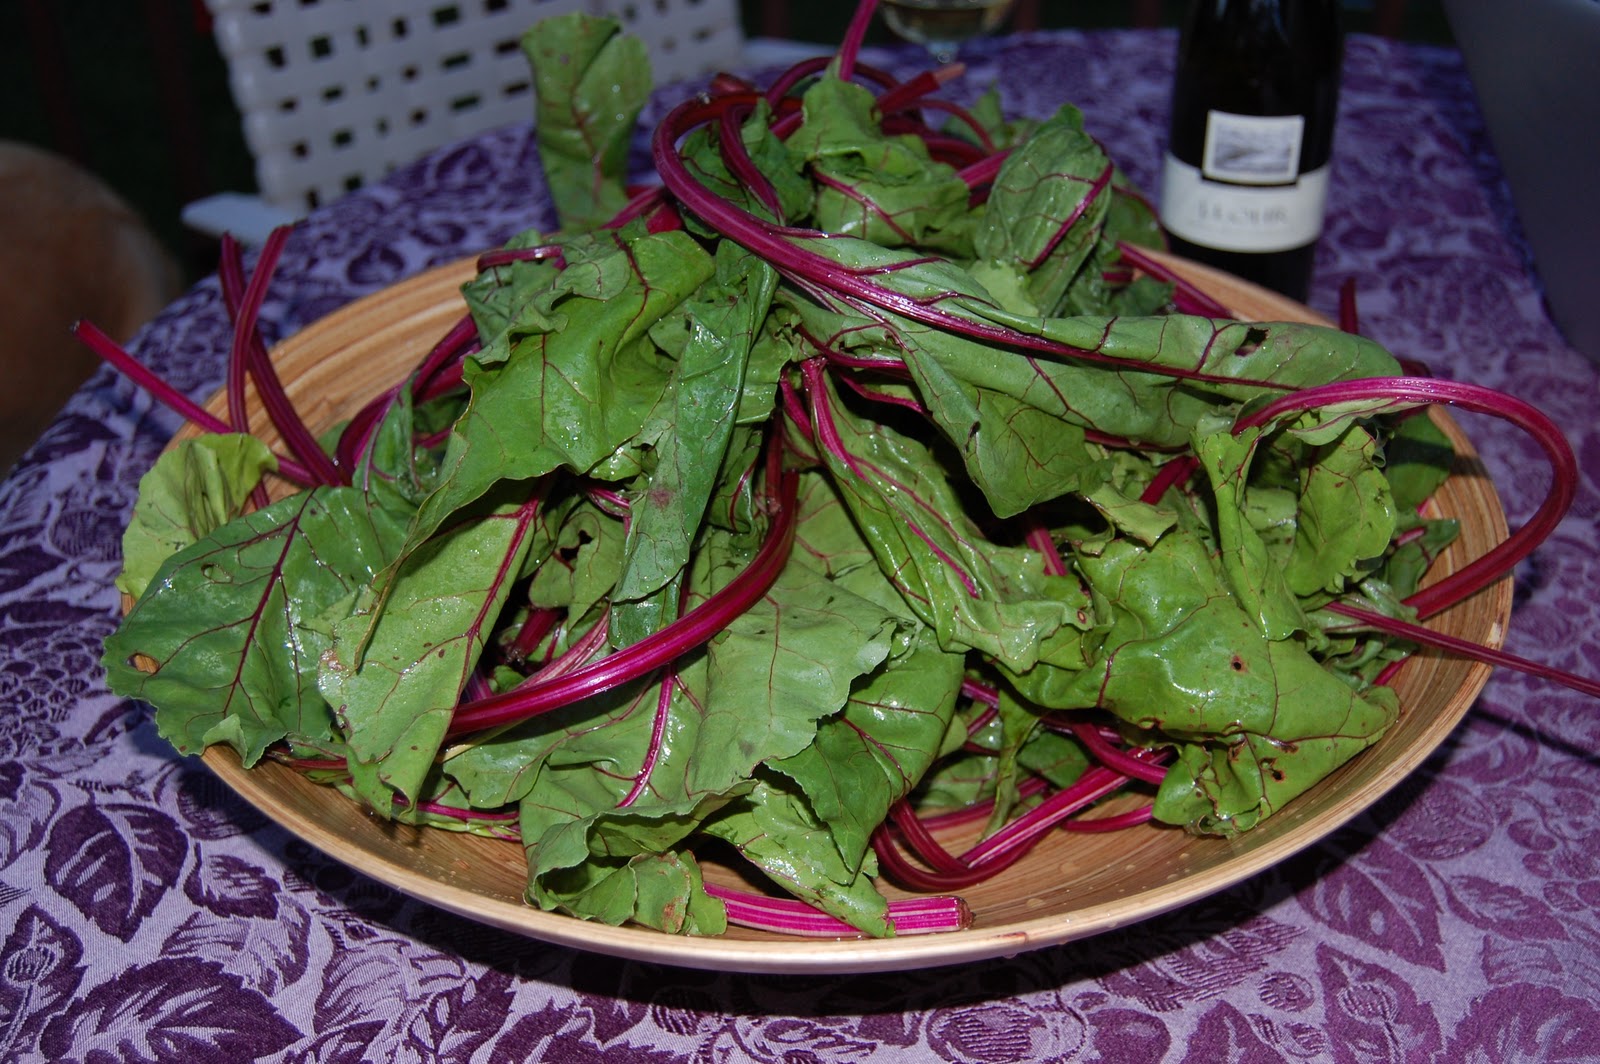
So here's what was on my plate for Sunday. Sorry, no photo.

A potato dish that included Yukon Gold potatoes (stored from Gage's Gardens). It was so good, I have to share the recipe:

About 5 Yukon Gold potatoes, peeled and cubed
2 onions, cut in wedges (mine came from Safeway)
1/2 tbl dried rosemary (from my summer garden -- still fragrant)
3 tbl olive oil (this was from World Market (their own label) in Sioux Falls -- EVO and it's really good)
Salt and pepper

Throw everything in a baking dish and mix together so the potatoes and onions are coated. Put in a 375 pre-heated oven for 45 minutes or until the potatoes are done and a little crunchy. Every 15 minutes, mix it up. Yum!

We also had stuffed hamburgers. The burger came from a local cow (RIP) that we purchased from the Butcher Shop in Spearfish.

Here's that one:

For four burgers / one pound of ground beef.

Stuffing mix: Finely chopped onions, peppers (from my garden last year), a piece of pastrami (from the Butcher Shop) and a piece of Swiss cheese (I think from Sam's Club), dried oregano (from my summer garden), salt and pepper.

Mix together the chopped onions and peppers, set aside.

Divide beef in 8 sections. Take one of the sections and flatten it out so it's very thin (I put it on a cutting board) but still thick enough that it won't fall apart when you pick it up with a spatula. Put a small piece of the pastrami on top of the burger and make sure to leave about an inch from the edge. Then scoop on the onion / pepper mix, salt and pepper and top with a small piece of Swiss. Roll out another section of burger so it's flattish and put it on top of your burger with pile of stuff on it. Seal the edges like you've made a little pie. Try to really seal it or stuff inside (like the cheese) will really ooze out and it won't be as cute.

I use a little spray oil and cook the burgers in a big frying pan with a lid over medium high heat. Be careful when you turn them over so they don't come apart. These are really good and a nice surprise when you bite into them . No bun needed.

Oh, and we had some broccoli too. From Sam's I think.